
The Honeywell T4 Pro Thermostat is a user-friendly, efficient device for home heating and cooling management․ Part of Honeywell’s ProSeries, it features a 7-day programmable schedule, energy-saving modes, and compatibility with various HVAC systems, ensuring optimal comfort and energy efficiency for both professionals and homeowners․
1․1 Overview of the T4 Pro Thermostat
The Honeywell T4 Pro Thermostat is a programmable device designed for efficient home comfort management․ It offers a 7-day scheduling feature, allowing users to customize heating and cooling settings for different days․ Compatible with various HVAC systems, including heat pumps and furnaces, it ensures versatile installation options․ The thermostat features an intuitive interface, making it easy to program and adjust settings․ Its compact design and optional cover plate enhance installation flexibility․ With energy-saving modes and compatibility with stage heating and cooling systems, the T4 Pro is a reliable choice for both homeowners and professionals seeking precise temperature control and energy efficiency․
1․2 Key Features and Benefits
The Honeywell T4 Pro Thermostat offers a 7-day programmable schedule, allowing users to customize heating and cooling settings for energy efficiency․ Its backlit display ensures easy readability, while the smart response technology learns the system’s performance to maintain consistent temperatures․ Compatible with various HVAC systems, including heat pumps and dual-stage systems, it provides precise control․ The optional cover plate enhances installation flexibility, and the battery-powered design includes a low-battery indicator for convenience․ These features combine to deliver a user-friendly, energy-saving solution for optimal home comfort and system performance, making it a versatile and reliable choice for both homeowners and professionals․
Pre-Installation Requirements
Ensure power is turned off at the breaker, verify system compatibility, gather necessary tools, and follow safety guidelines before starting the installation process․
2․1 System Compatibility Check
Before installation, ensure the Honeywell T4 Pro Thermostat is compatible with your HVAC system․ It supports various configurations, including oil furnaces, hot water boilers, and heat pumps․ Verify the system type (e․g․, 1H/1C or 2H/1C) and check the manual for specific requirements; Ensure compatibility with zone valves and optional cover plates if needed․ Confirm the thermostat supports your system’s stage of heating or cooling to avoid installation issues․ Proper system matching ensures optimal performance and energy efficiency․ Refer to the installation manual for detailed compatibility guidelines and specific system requirements․
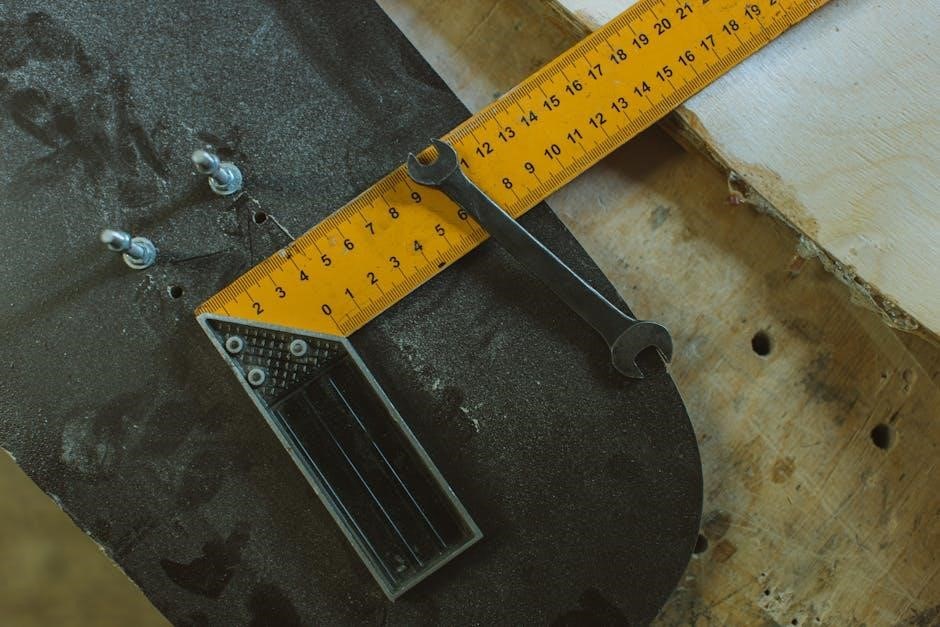
2․2 Tools and Materials Needed
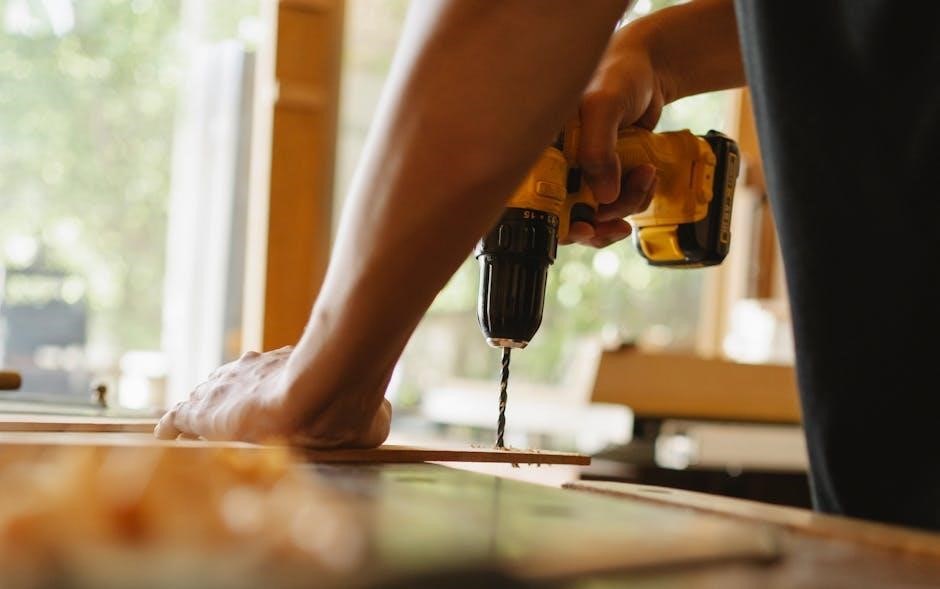
To install the Honeywell T4 Pro Thermostat, gather the necessary tools and materials․ You will need a screwdriver (Phillips and flathead), a pencil, a level, and wire strippers for preparing connections․ Ensure you have the Universal Wall Plate (UWP) included in the package․ Additional materials like wall anchors or screws may be required for mounting․ For systems with zone valves, verify compatibility with the thermostat․ Fresh AA alkaline batteries are essential for initial setup․ Optional items, such as a cover plate, may be included for a cleaner installation․ Ensure all tools and materials are ready to avoid delays during the process․
2․3 Safety Precautions
Before starting the installation, ensure the power to your HVAC system is turned off at the breaker or switch to avoid electrical hazards․ Disconnecting power prevents accidental system activation and ensures a safe working environment․ Handle wires carefully to avoid damage or short circuits․ Properly dispose of the old thermostat and packaging, adhering to electronic waste guidelines․ Wear protective gear, such as gloves, when handling tools or sharp objects․ Ensure the Universal Wall Plate (UWP) is securely mounted to prevent it from falling or causing damage․ Always follow the manufacturer’s instructions to avoid improper installation, which could lead to system malfunctions or safety risks․

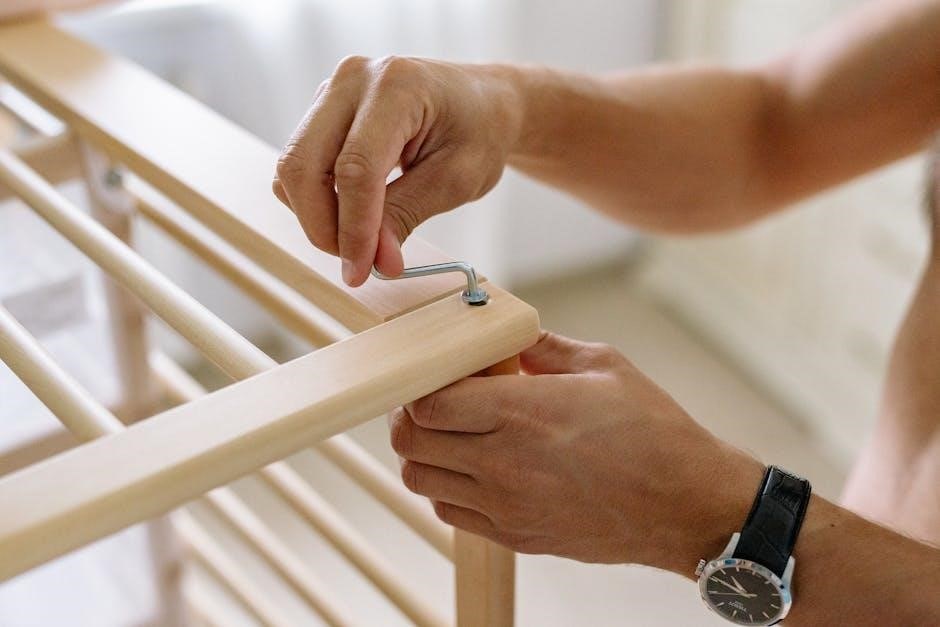
Installation Process
The Honeywell T4 Pro Thermostat installation involves mounting the Universal Wall Plate (UWP), carefully wiring the system, and installing fresh batteries to ensure proper functionality․
3․1 Mounting the Universal Wall Plate (UWP)
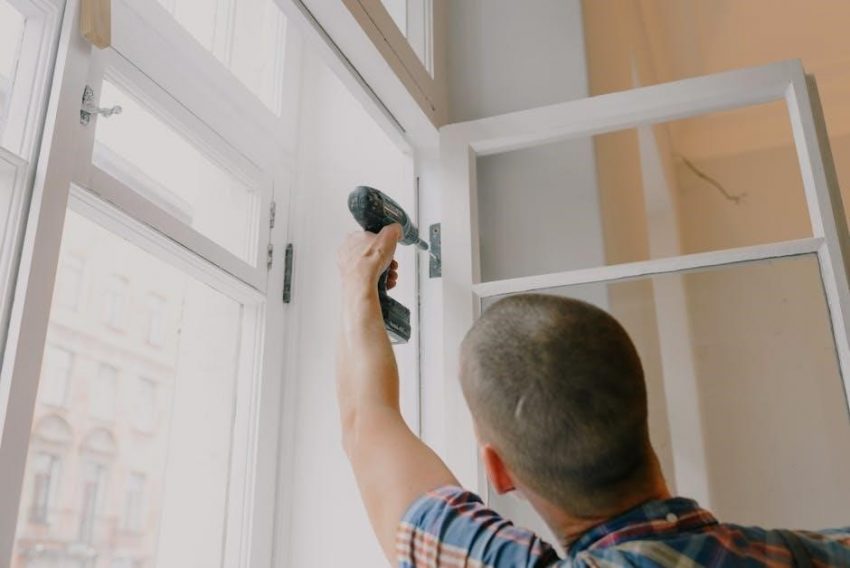
Mounting the Universal Wall Plate (UWP) is the first step in installing the Honeywell T4 Pro Thermostat․ Begin by turning off the power to your HVAC system at the circuit breaker․ Open the packaging and locate the UWP, ensuring all components are included․ Position the UWP on the wall, aligning it with the existing wiring holes if applicable․ Use a level to ensure it is straight, then mark the screw locations with a pencil․ Drill pilot holes if necessary and secure the UWP with the provided screws․ Make sure the plate fits flush against the wall without any gaps or bulging․
3․2 Wiring the Thermostat
After mounting the UWP, carefully connect the thermostat wires to the appropriate terminals․ Ensure the power to your HVAC system is off at the breaker․ Match each wire to its corresponding terminal (e․g․, R to R, W to W, Y to Y, G to G, C to C)․ If your system requires a common wire, connect it to the C terminal․ Do not force wires into incorrect terminals, as this may damage the thermostat; Once all wires are securely connected, gently push any excess wire back into the wall․ Close the UWP door and attach the Honeywell T4 Pro Thermostat to the plate, ensuring it is securely fastened․ Turn the power back on and test the system for proper operation․
3․3 Installing Batteries
To power the Honeywell T4 Pro Thermostat, install two fresh AA alkaline batteries․ Open the battery compartment located on the back or bottom of the thermostat․ Insert the batteries, ensuring the positive (+) and negative (-) terminals align correctly․ Close the compartment securely․ If the thermostat is hardwired, batteries may serve as a backup power source․ Low battery alerts will appear on the screen when replacement is needed, typically 2 months in advance․ Install new batteries promptly to maintain uninterrupted operation․ Always use high-quality alkaline batteries for optimal performance and longevity of your Honeywell T4 Pro Thermostat․
Post-Installation Setup
After installation, configure the Honeywell T4 Pro by setting your temperature preferences, scheduling, and system options․ Perform a final test to ensure everything functions correctly․
4․1 Initial Configuration and Programming
After installation, begin by setting the time and date on the Honeywell T4 Pro Thermostat․ Navigate to the system settings to select your HVAC system type, such as heat pump or furnace․ Program your desired temperature schedules for weekdays and weekends, ensuring energy efficiency․ Set temperature ranges for heating and cooling modes․ Adjust settings like recovery mode to optimize performance․ Refer to the manual for advanced options, such as humidity control or remote sensor integration․ Save all configurations to ensure proper operation․ Proper initial setup ensures the thermostat operates efficiently and meets your comfort preferences throughout the day․
4․2 Testing the Thermostat
After initial setup, test the Honeywell T4 Pro Thermostat to ensure proper operation․ Verify the display lights up and responds to button presses․ Check that heating and cooling systems activate when toggled․ Test programmed schedules to confirm temperature adjustments occur as planned․ Ensure remote sensors, if connected, accurately influence temperature readings․ Review system alerts for any issues during operation․ Verify that the thermostat cycles on and off correctly, maintaining the set temperatures․ Test the recovery mode to ensure smooth transitions between heating and cooling․ Finally, confirm that all wired or wireless connections are stable and functioning as intended․
Troubleshooting Common Issues
Identify common issues like connectivity problems or system non-responses․ Check wiring connections, power supply, and error codes․ Refer to the manual or contact support for assistance․
5․1 Common Installation Errors
Common installation errors with the Honeywell T4 Pro Thermostat include incorrect wiring connections, improper mounting of the Universal Wall Plate (UWP), and failure to install batteries correctly․ Ensure the system is compatible with the thermostat and that all wires are securely connected to the correct terminals․ Misaligning the UWP or not leveling it properly can lead to operational issues․ Additionally, neglecting to turn off the power supply before starting installation can result in electrical hazards or damage to the device․ Always refer to the installation manual or contact customer support for guidance to resolve these issues effectively․
5․2 Resolving Connectivity Problems
Connectivity issues with the Honeywell T4 Pro Thermostat often arise from improper wiring or incorrect terminal connections․ Ensure all wires are securely attached to the correct terminals, as specified in the manual․ If the thermostat fails to power on, check for loose connections or damaged wires․ Additionally, verify that fresh batteries are installed, as low battery levels can disrupt communication․ If issues persist, cycle the power by turning it off at the breaker and restarting the system․ For persistent connectivity problems, consult the troubleshooting guide or contact Honeywell customer support for assistance in resolving the issue effectively․